 When we left our intrepid decorators, they had completed the wiring and installation of the cans and spot light and painting the room. The next step in the grand project is the installation of built in book cases. For this we went to Home Depot and procured 10 (yes ten) sheets of 4×8 MDF… now I think MDF stands for “Medium Density Fibre” but as far as Mandy and I are concerned, I think it’s “maximum density…” because lord knAs promised (though not as quickly) the followows that stuff is heavy! I even had to have Mandy help me load it onto the cart even though she was pregnant (I know – bad husband). Somehow, I later figured out that I could manhandle a sheet myself as long as I had gloves on.
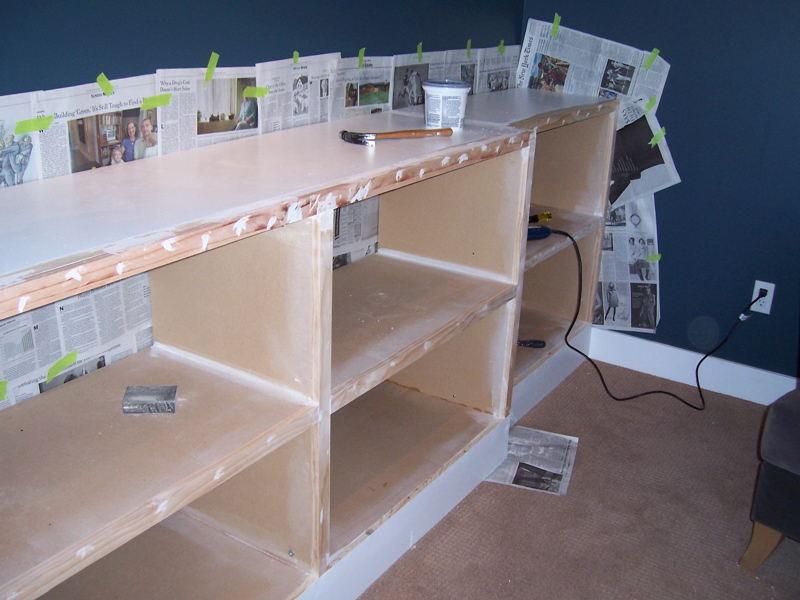
The goal with the built-ins was to have the deep blue wall show through the stark white frame of the bookcases. Every face of the bookcase should also be the same width of 1 1/2 inches (double the thickness of the MDF).
So I set about building four MDF boxes that would make up the bottom set of deeper and taller shelves. Each box was assembled with double rabbit joints that were created using a router. You would not believe the amount of sawdust that routing MDF generates, it’s almost as if MDF is a highly compressed composite of sawdust itself! I think we’ll be finding sawdust in our garage for years to come!.
Once the boxes were assembled, I used a drill to attach the shelf in each one. Then I pulled each box into the library and set them on the 2×6 ladder frame to lift them off the ground a bit. I attached them with bolts and then attached the face frame of 1×2 pine. The final step of course is the wood fill the nail holes and sand sand sand before we started painting.
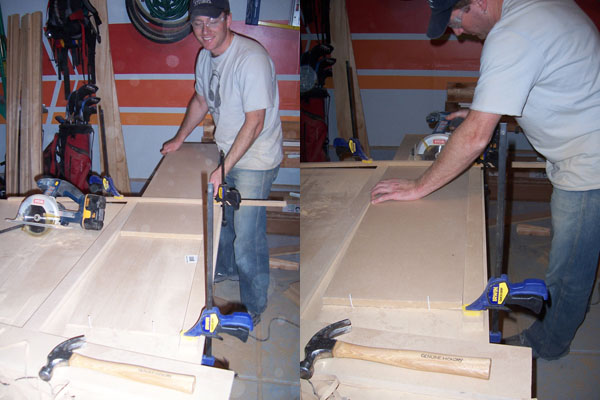
Meanwhile, I assembled the upper book cases and made the 10 shelves that would go into the two towers. To ensure accuracy and consistency on the shelves, I made a little frame on my work table into which I put the MDF lengths that I had already cut so they would be exactly the same length and width. Most of my cutting was done with a skill saw due to the unweildiness of the 4×8 sheets of MDF. But to ensure a straight line I clamped guides to the sheets to run the saw along… brilliant I tell ya!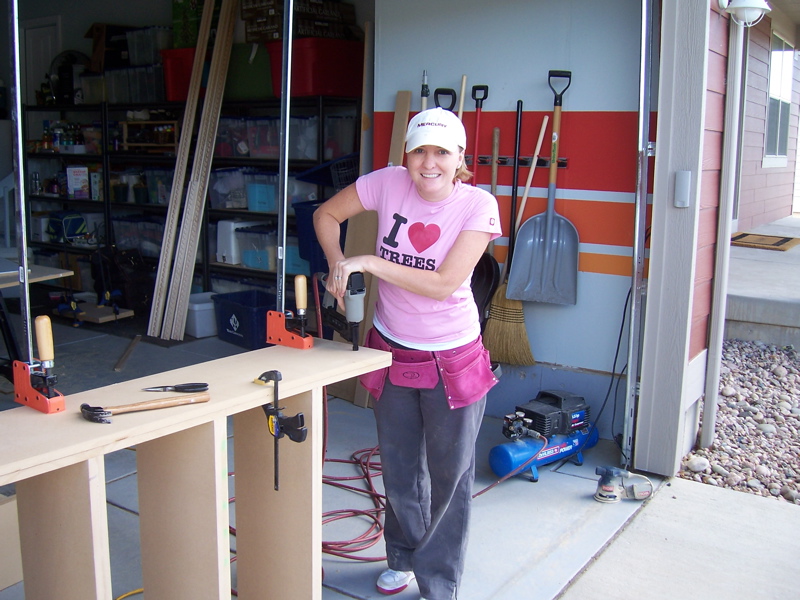
Mandy was then kind enough to help me with some of the final assembly of the book cases, giving her a critical opportunity to get into the photos with her pink tool belt (this was during her October month of pink).
With the lower bookcases assembled in the library and the upper towers in the garage it was time to start painting. We chose semi-gloss aspen white to match the trim in the library (also known as McStain white because all the houses in our McStain neighborhood use it). We first used a couple of coats of white kilz primer because primer is our best friend when it comes to painting. Following that we did at least 3 coats of the white paint to make sure it would last. Once the paint had dried and hardened, Josh helped us hoist the two towers onto the base bookcases. They looked great, but there was one final step to finish up the job: the crown moulding. 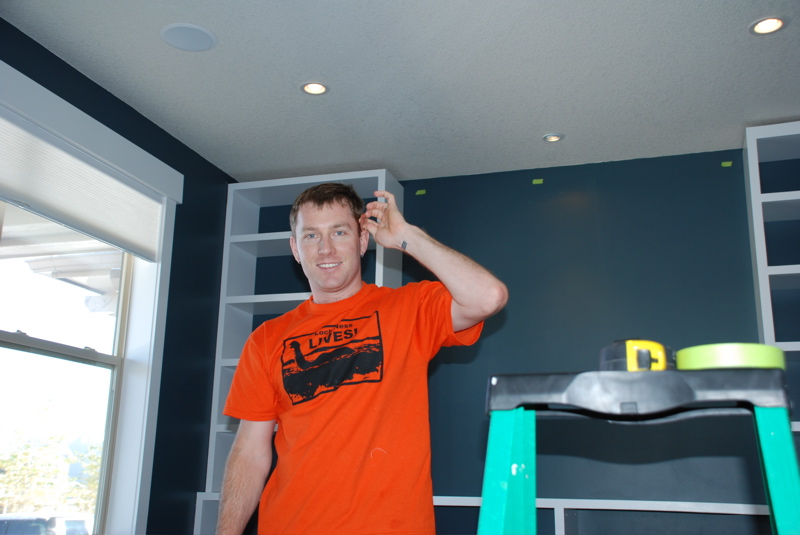
The crown was there to attach the top of the book cases to the ceiling to give it a clean look from floor to ceiling as well as make the whole room look a bit more classic. We chose dental crown (which happended to be the most expensive we could find and the hardest to deal with) because we liked the art deco feel of it. After hearing about Scott’s challeng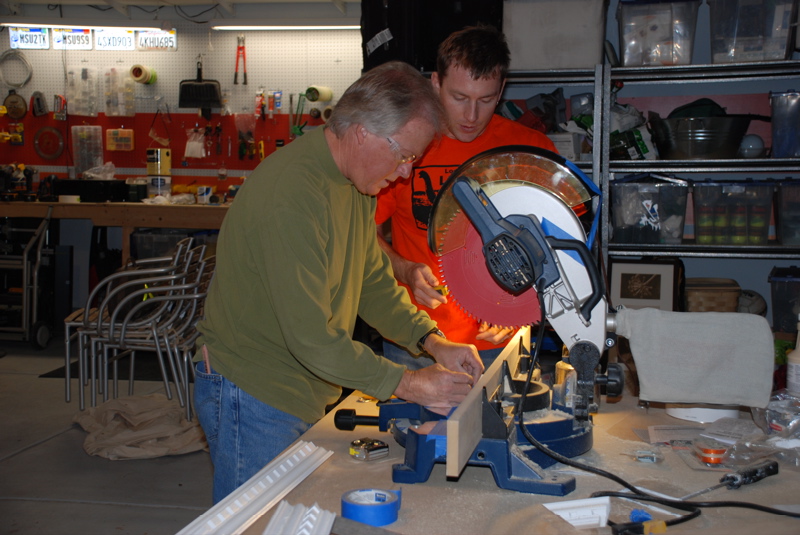 es a few years ago doing Crown, I felt it would be wisest to wait until Kevin’s visit a few weeks later to get my primer on the best way to make it right. I satisfied myself with marking the line on the wall where the crown should lay.
Of course Kevin had great tips on how to make sure you’re cutting the right angles and also how to make the right joins (the corners on dental crown have to line up pretty perfectly). We spent quite some time going back and forth from the library to the garage to get the crown cut correctly.
Kevin did most if not all the installing of the crown but I think next time I’ll do it at least half as well as he did with all the advice and gotchas. I filled int he nailholes and did the final touchup on the crown and we were done… a remarkable makeover for a previously bland room. We got a nice big plant for the room and put back all the books we had (which turned out to look quite pathetic in the much larger bookcases) this time at least organized and alphabetized.  We’re ready for more books… and we’re looking for some nice baskets to put in the big bottom shelves where we can store childrens toys out of sight when that room becomes more multipurpose!
December 20, 2006 at 3:10 pm
wow really, really impressive and very beautiful… great job! it looks totally different and so much better! i will show tom and make him feel bad that he can’t do the same shortly…